Doing a DIY car cleaning may be exhausting. But aside from avoiding the expenses of a car wash, you’ll also get that feeling of satisfaction after you’ve seen the result of your hard work.
Moreover, having an oil separator system at home can help you prevent pollution. The approach can also give you a safer clean that doesn’t damage the environment. Here are a few tips for car washing like a pro.
The Three-bucket System
To have a deep-clean wash is to remove contaminants and dirt from the vehicle’s surface altogether. Once you notice that your water has turned into a light brown or gray color, it’s time to replace it. The last thing you want for your car is cleaning it with dirty water; this only reapplies the contaminants you tried to remove.
Here is where the three-bucket system comes to play. One bucket for clean soapy water, another with only water, and the third bucket explicitly used for tires. It would be best if you only used the water bucket for rinsing and cleaning your mitt before plunging it back in the soapy bucket.
Washing Your Car
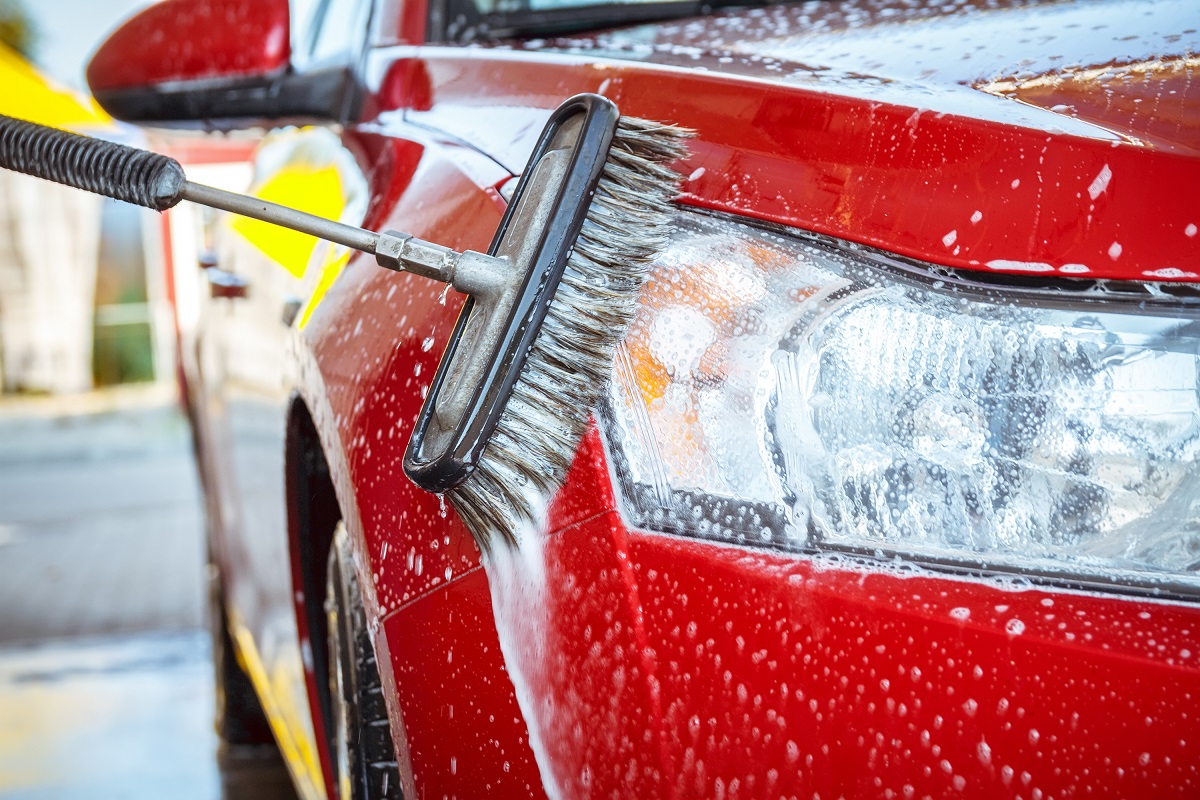
It may not seem like it, but washing your car is a DIY adventure that both you and your vehicle will encounter. You’ll learn how to remove contaminants such as dust, mud, and rust, which are the hardest to scrub off. However, before thoroughly scrubbing the paint job with a wash mitt, rinse the car with water first using a pressurized hose to remove the more obvious dirt.
After, you can apply soapy water to the surface with soap specially designed for washing. Using dishwashing liquid detergents can peel the wax away and eventually damage the paint. Remember also to use the three-bucket system.
Prepare the Surface
After a thorough wash with soap, spotting blemishes that are deeply seated are now an easier task. This includes scratches, paint oxidation, and swirls. You can run your hand over the exterior and feel bonded contaminants despite having the car washed. Using a clay bar with any wax applied to the vehicle is a big help in removing these stubborn spots.
However, scratches may require a compound since they are more difficult to remove and will require several applications before any hint of progress. A paint touchup is needed for deeper scratches.
Polishing for Extra Gloss
After prepping and pampering your vehicle’s surface, you can do polishing to get that impressive high-gloss shine. This way, it’s easier to get a good look at yourself because of the mirror-like appearance your car gives. Polishing is an optional step and can either be applied using a dual-action polisher or by hand.

Cleaning Your Car’s Air Conditioner
If summer is coming and it seems like your car’s air conditioning system is not functioning correctly, then it’s time to have a good look at it. With these tips below, you can save yourself a few bucks by doing it yourself instead of visiting a car service center.
Wipe the Vents Thoroughly
As easy as wiping the vents may sound, it’s not. The small slit is what makes it challenging to reach the inner parts where the dirt usually accumulates. Experts say you can use a foam paintbrush due to its elastic properties, while the relatively sturdy and thin brush allows the users to insert it in vents further to clean areas that are hard to reach. However, remember that using it may push a bit of dust into the ducts and down to the AC filter, but no need to worry since you’ll also be cleaning after finishing the first steps.
Clean the Cabin Filter
Cleaning the cabin filter might be challenging since it differs from other cars, depending on your model. Most of the time, you can find it behind the glove compartment. To get to it, make sure your glove compartment is empty. Then, find all the pegs that connect the glove compartment and the dashboard. After disconnecting it carefully, you will find yourself having complete access to the cabin filter.
Experts recommend that car owners replace the air filter once a year or after driving for about 12,000 to 15,000 miles. However, in instances where there isn’t enough budget for an annual air filter replacement, you can pull it out and blow off the dust with an air compressor. Remember to use a disinfectant or car deodorizer before putting it back together.
Brush or Wipe the Fans
This may be the most challenging part. Before starting, make sure it’s been a while since you switch off your car engine to cool it off. Next, open your vehicle’s hood and locate the air conditioning condenser fan. You can usually find it behind the condenser itself, which is perpendicular to the bumper. If you can reach it easily, all you have to do is wipe the fan blades. However, removing it from the engine bay would be better.
After all the cleaning, you will notice the improvement in your car’s AC system. Now that your vehicle has a bright and clean look, remember not to get into any form of issue and throw away all your hard work.