Spring is here. And with the change of season comes the annual much-needed spring cleaning. Some folks look forward to it while others dread it because of all the hard work involved.
From packing things up from winter to cleaning out your basement and attic to giving your home a good wash, it can be pretty overwhelming. But fret not. Here’s a list of things you can do to make spring cleaning easier this year:
Step 1: Get the whole household involved
To make the job a lot easier and quicker to accomplish, enlist the help of everyone in the house. Two heads are better than one, right? This is especially good for households with young kids as it teaches them the importance of taking responsibility and ownership of their surroundings.
Step 2: Assign and delegate tasks to everyone
Once you have everyone’s commitment, it’s time to break down the tasks and chores that need to be done. Make a list of everything that you need to do. Be as detailed as you can. When you’re done with the list, distribute the tasks among the members and make sure everyone gets a list of what they need to do. Make sure that when the things assigned to kids are age-appropriate.
Step 3: Make a calendar
Based on your to-do list, make a schedule of what takes place when. More often than not, spring cleaning takes more than a day to accomplish with several big tasks taking place alongside smaller ones.
For instance, if you need a high-quality Trex seclusion fence installed while you’re clearing out the garage, mark it on your calendar so that it’s easier to monitor the fence installation progress compared to working on cleaning out your attic on the day of the installation.
The more detailed you are, the better the coordination between individuals will be, the more efficient you will function as a spring cleaning team.
Step 4: Protect yourself
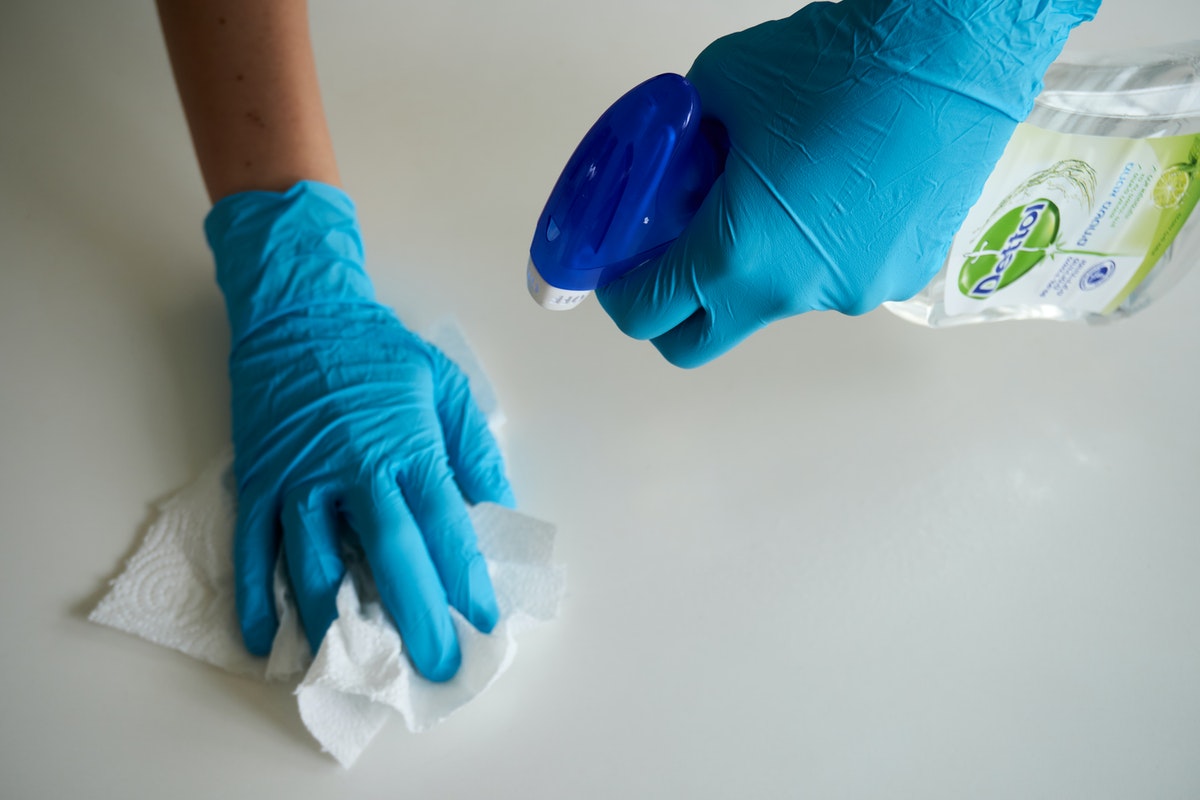
Before you get to spring cleaning, make sure that you have the right gear on to protect yourself from allergies and harmful cleaning materials. Wear a face mask, rubber gloves, hairnets, and scarves.
Step 5: Start decluttering rooms one by
one
One of the very first things you should do is to get rid of all clutter and junk. There are different ways of segregation and decluttering. You can choose to go with whichever works best for you.
You can do it as a whole team going through the entire house one area at a time or you can have individuals take charge of certain rooms simultaneously. Either way, your priority is to get rid of clutter that only takes up space and collects dust.
Step 6: If you have a HEPA vacuum, use it
One thing that can be of great help to you as you clean up is to use a HEPA vacuum. Using one helps you get rid of more than just dust build-up but tinier airborne particles that can cause allergies. If you don’t have one, you can either borrow from someone who has one (just make sure to clean it up before returning it and to give it back promptly) or use a vacuum with attachments like crevice noses and dusting brushes.
Step 7: Start from the top and work your way down
One of the cardinal rules of cleaning is to always work from top to bottom. The logic behind this is that dust and debris will fall and settle on the ground so if you start with your floor and work your way up, you will need to redo the floor because of the dust accumulated from working on furniture, walls, and ceilings.
Working from top to bottom is more practical and is a great timesaver. Plus, it’s just smarter to work that way.
Step 8: Give walls and windows some much-needed TLC

Don’t just focus on cleaning up the garage, basement, and attic to make room for more storage or to clean up inside the house. You also need to give your walls and windows a much-needed powerwash. You can even take this time to give your house a little facelift with some fresh paint job.
Step 9: Don’t be afraid to take on the kitchen and bathrooms
Kitchens and bathrooms are smaller but hard to work on. But don’t be afraid to tackle them. Just take it one area at a time. Wipe down the cabinets then proceed to the walls and then fixtures. Make sure to also check if you need to replace some hardware like faucets, knobs, and handles. This is also a great time to check if you have leaks in your walls or pipes.
Step 10: Clean up the air, too
While you’re too busy cleaning around the house, don’t forget to also clean the air inside it. Improve the air quality at home by replacing your HVAC and furnace filters.
With these tips in mind, you are sure to finish your spring cleaning tasks efficiently.
