Key Takeaways:
-
Heat Always Travels to Cooler Zones: In winter, expensive heated air naturally escapes upward through an uninsulated ceiling, while intense summer sun cooks the attic and forces your cooling system to run constantly.
-
Air Sealing Must Precede Insulation: Insulation only slows down heat transfer; it cannot stop moving air. You must seal structural wire holes, plumbing stacks, and light fixtures first with foam or caulk to prevent drafts.
-
Vents Must Stay Clear: Attics require a continuous balance of fresh air to clear out winter moisture and summer heat. Always install rigid ventilation baffles at the eaves to stop loose insulation from choking the soffit vents.
-
Insulation Type Dictates the Approach: Fiberglass batts are highly accessible for a solo installer, blown-in cellulose excels at blanketing irregular shapes efficiently with two people, and expanding spray foam delivers premium air sealing along the rafters.
-
Compression Destroys Efficiency: Squeezing or packing down fiberglass material destroys the tiny internal air pockets that actually trap heat, drastically reducing its protective thermal rating.
-
Certain Signs Demand Professional Intervention: If you discover historical knob-and-tube electrical lines, severe structural wood rot, active mold growth, or dusty vermiculite insulation that could contain asbestos, step away and call a certified technician.
-
Upgrades Pay Dividends Fast: Most attic thermal upgrades lower overall household heating and cooling expenses by an average of 15%, allowing homeowners to fully recover their upfront material costs in roughly two to four years.
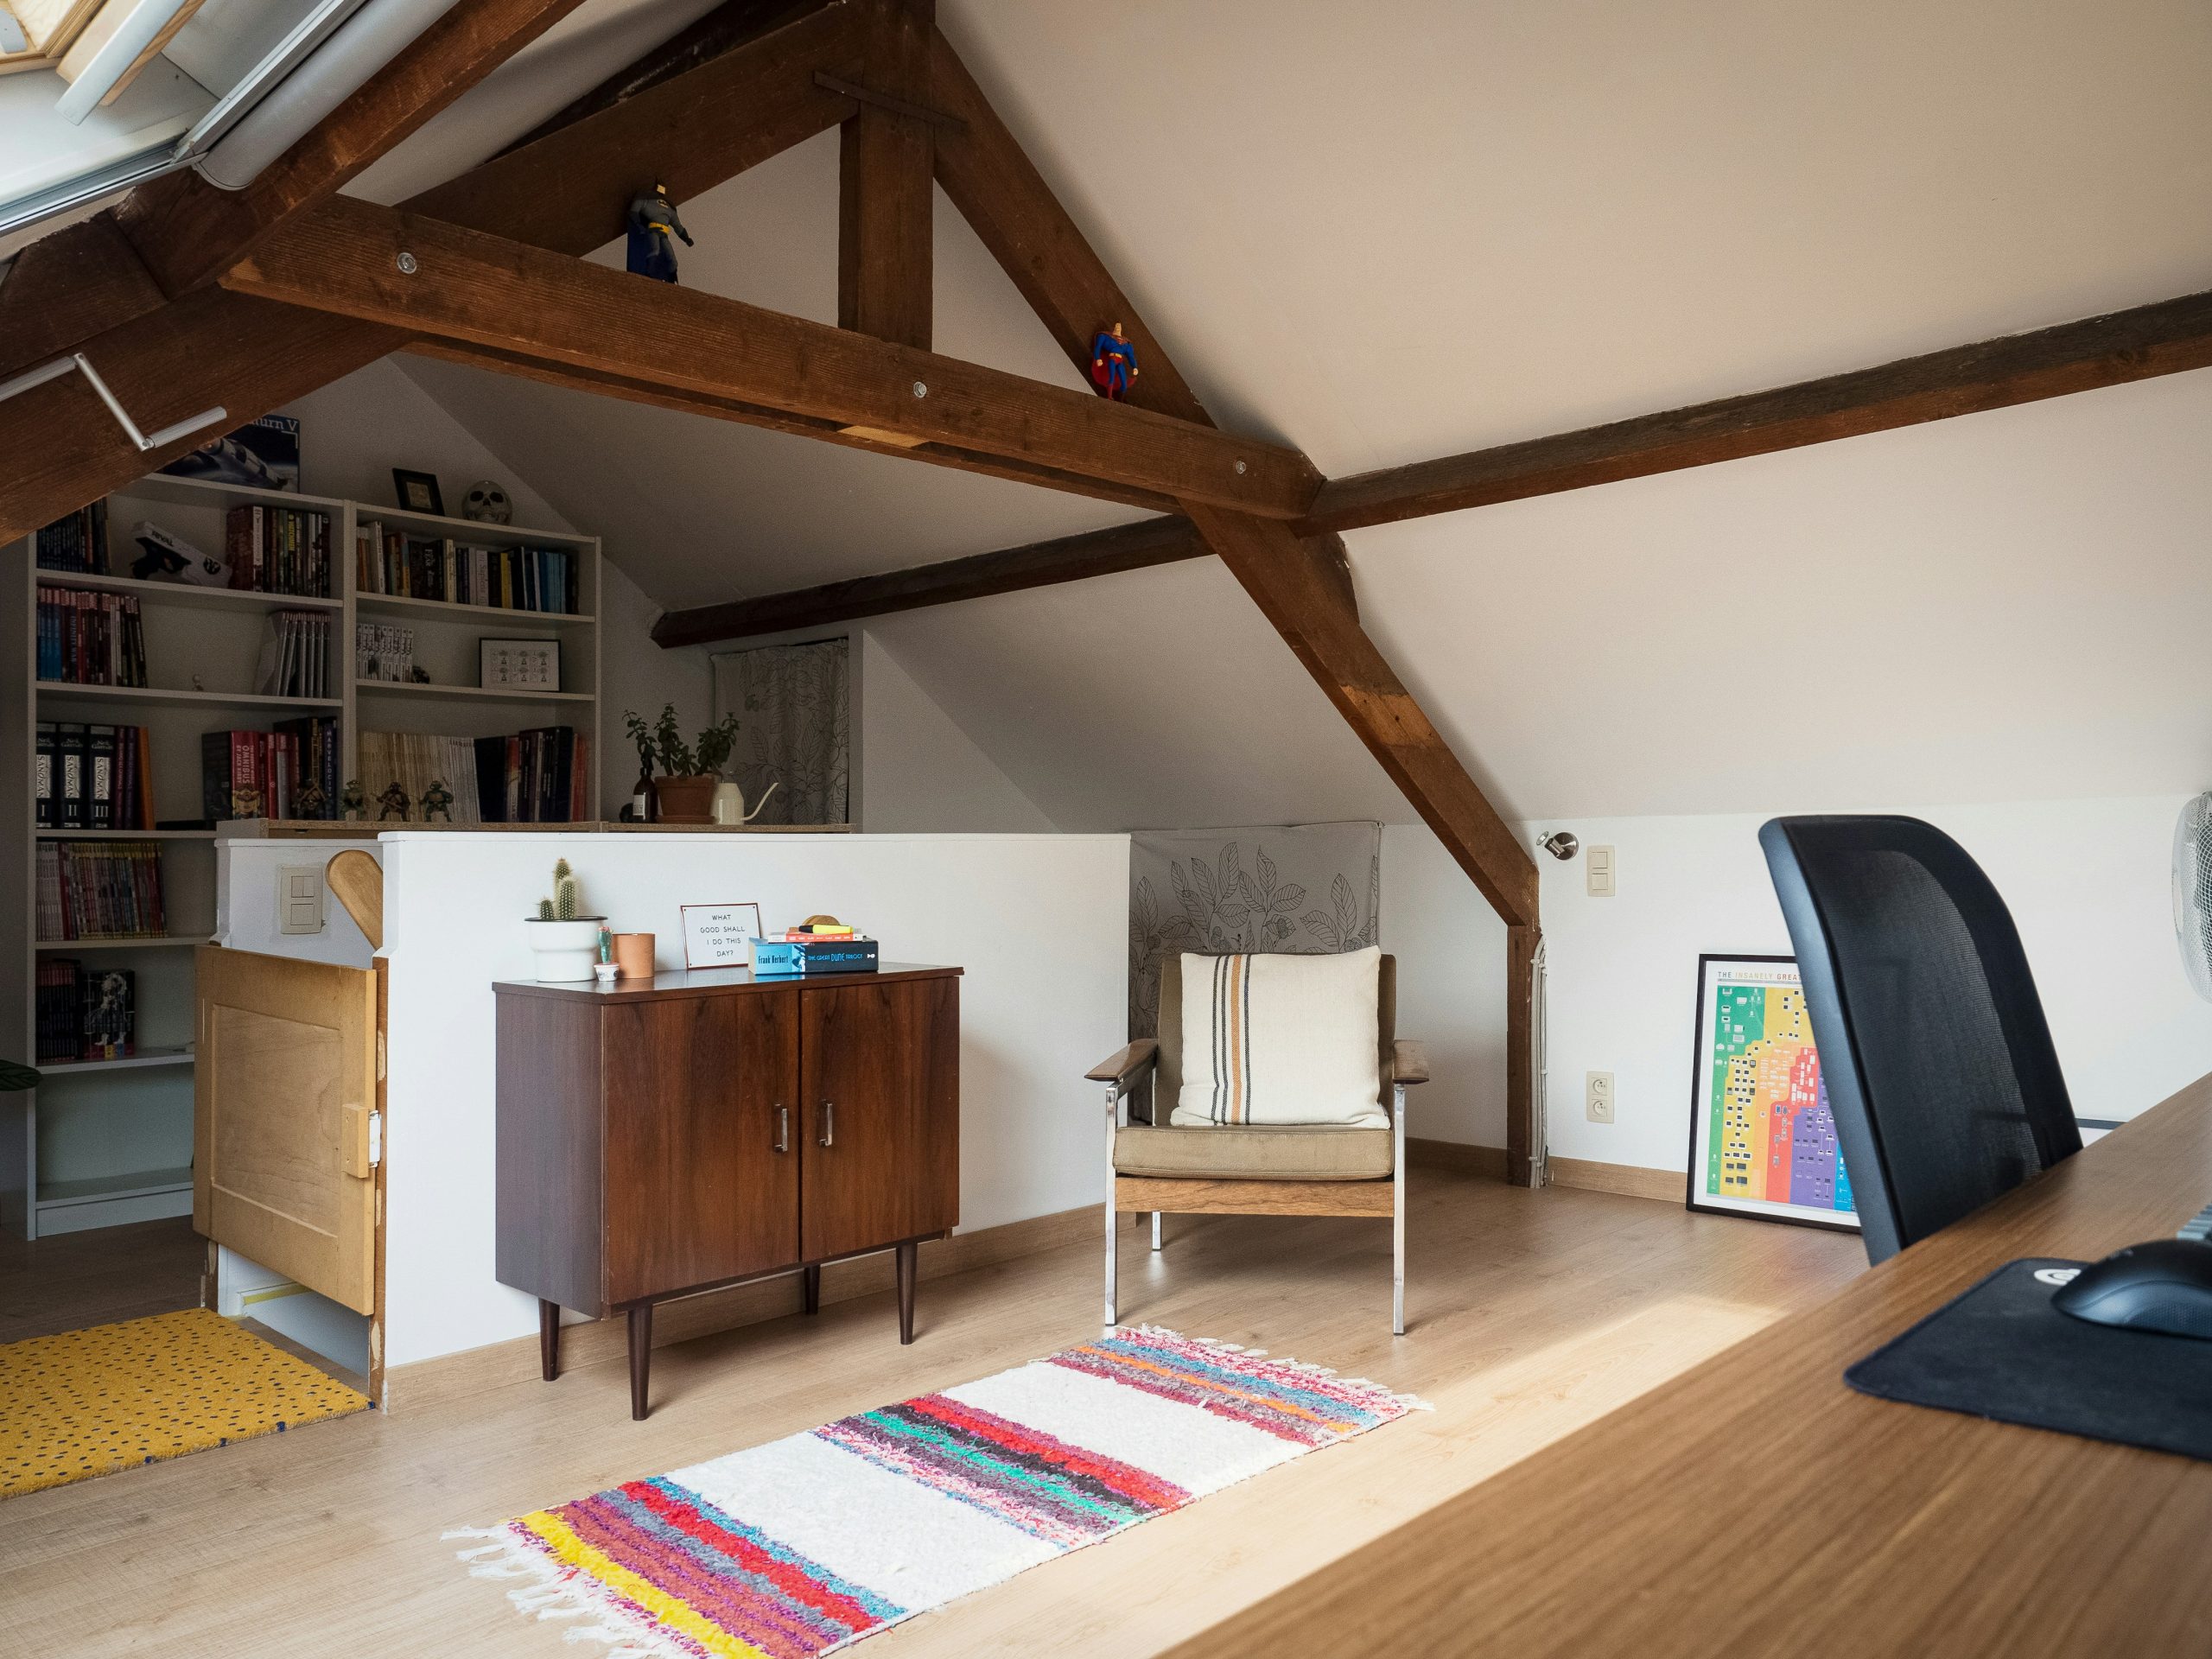
Think about your attic for a moment. For most homeowners, it is a dark, dusty space reserved for holiday decorations and old photo albums. But if your home feels drafty in the winter or bakes like an oven in the summer, that forgotten space upstairs might actually be the biggest culprit behind your soaring utility bills.
In a poorly insulated house, heat acts like an uninvited guest. During the winter, the expensive warm air produced by your furnace naturally rises and escapes right through your roof. In the summer, the sun beats down on your shingles, baking the attic air until it reaches blistering temperatures, which then radiates downward into your living spaces and forces your air conditioner to work overtime. By learning how to insulate an attic properly, you can seal those thermal leaks, create a protective blanket around your living space, and keep your hard-earned money from vanishing into thin air.
Why Does Attic Insulation Matter So Much?
To understand why attic insulation is such a game-changer, you have to look at the basic physics of home comfort. Heat always moves from a warmer area to a cooler area. In the wintertime, your heated rooms are warm, and the outdoors is cold, so the heat tries to escape. In the summertime, the blistering outdoor air tries to force its way inside.
Insulation works by slowing down this natural movement of heat. It is measured by something called an R-value, which rates the material’s thermal resistance. The higher the R-value, the better the material is at stopping heat from passing through it. Most older homes were built with minimal insulation that has settled, degraded, or shifted over the decades. Upgrading this barrier ensures that your heating and cooling systems do not have to run constantly just to maintain a steady temperature, leading to immediate relief when your monthly energy bill arrives.
Beyond the financial savings, proper insulation protects the actual structure of your house. In cold climates, a warm attic melts the snow on your roof, which then runs down to the colder eaves and freezes into heavy ice dams. These ice dams can rip off gutters and back up water right under your shingles, causing catastrophic roof leaks. In hot climates, excessive attic heat can bake your roof shingles from the inside out, causing them to warp, crack, and age prematurely. Fixing the insulation solves all of these problems at the source.
What Are the Most Common Types of Insulation Materials?
When you walk down the insulation aisle at your local home improvement store, the options can feel a bit overwhelming. However, almost every residential attic project relies on one of three primary materials, each with its own specific strengths and installation methods.
Fiberglass Batt Insulation
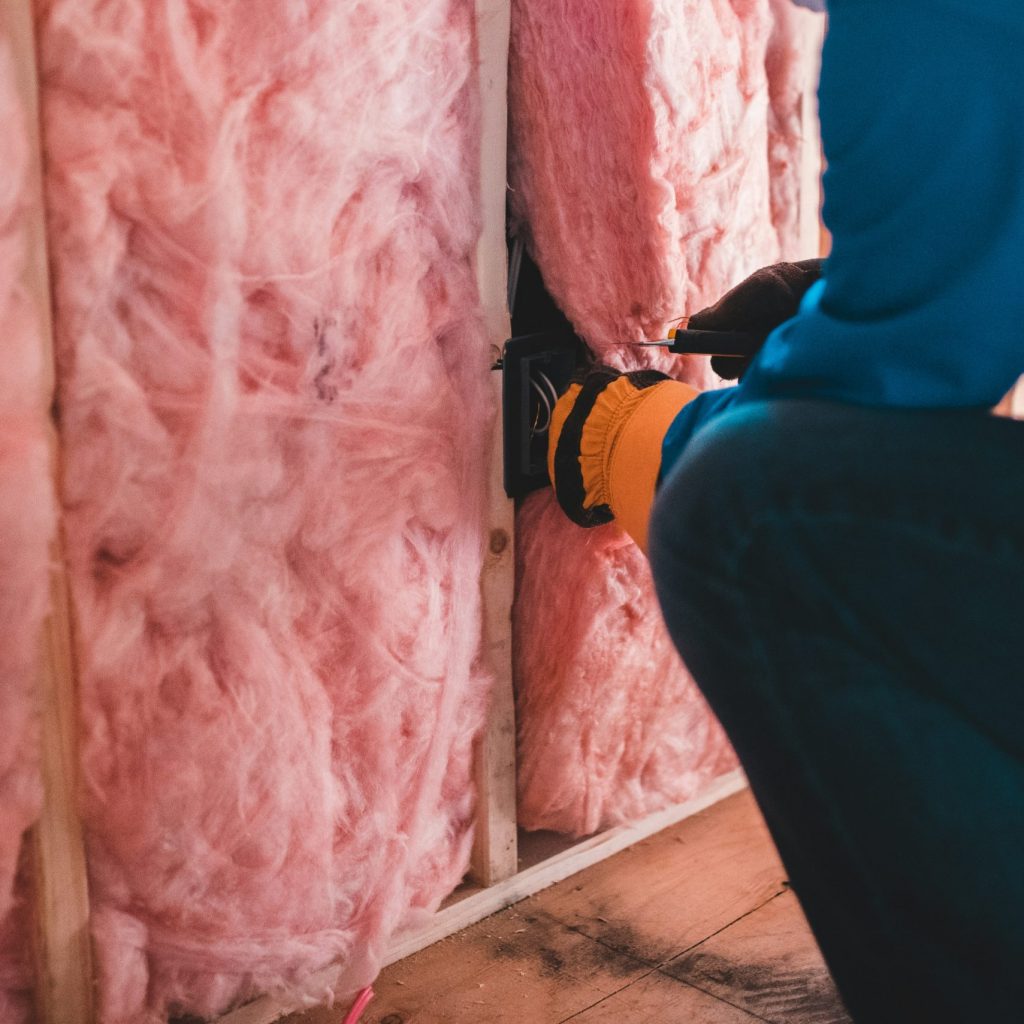
This is the classic choice that most people picture when they think of insulation. It comes in pre-cut rolls or blankets made from spun glass fibers, typically pink or yellow. Batts are designed to fit snugly between standard joist spacing in walls and attic floors. They are incredibly user-friendly for a DIY enthusiast because you simply unroll them and cut them to length with a utility knife. Fiberglass is naturally fire-resistant and does not settle over time, but it can be tricky to install perfectly around wiring, pipes, and irregular spaces without leaving gaps that let air leak through.
Blown-In Loose-Fill Cellulose
Cellulose is an eco-friendly option made primarily from recycled newspaper and cardboard treated with boric acid for fire and pest resistance. Instead of layout blankets, you use a special blowing machine to pump loose, fluffy fibers through a hose directly into the attic space. This material is fantastic for filling deep cavities, covering existing insulation, and packing tightly around awkward joists, wires, and obstructions. It creates a dense, seamless barrier that is excellent at stopping airflow, though it does require renting a machine and can settle slightly over the first few years.
Spray Foam Insulation
Available in both open-cell and closed-cell varieties, spray foam is a premium polyurethane liquid that expands rapidly into a thick foam upon application. Unlike batts or loose-fill, which sit on the attic floor, spray foam is typically sprayed directly onto the underside of the roof deck between the rafters. This seals the entire attic space, turning it into a conditioned part of the home. It provides the highest R-value per inch and creates a completely airtight seal, but it is much more expensive than other options and usually requires professional installation with specialized safety gear.
How Do You Choose the Right R-Value for Your Climate?
You should not just guess how much insulation you need. If you install too little, you will still waste money on energy bills; if you over-install past a certain point, you will hit a zone of diminishing returns where the extra material costs more than the energy it saves. The right amount depends entirely on where you live.
The Department of Energy breaks the country down into distinct climate zones, ranging from the hot, humid regions of the deep south to the freezing expanses of the northern plains. Each zone carries a specific recommended R-value for attics.
-
Zones 1 and 2 (Southern Florida, Gulf Coast, Deep South): A target R-value of R-30 to R-49 is generally recommended, which equates to roughly 10 to 14 inches of standard insulation.
-
Zone 3 (Mid-South, California, Southwest): Aim for an R-value of R-30 to R-60 depending on your specific local utility costs and winter averages.
-
Zone 4 (Mid-Atlantic, Midwest transition zones): Homeowners should target an R-value between R-38 and R-60 to handle both humid summers and freezing winters.
-
Zones 5 through 8 (Northern States, Mountain Regions, Canada border): Because of prolonged, severe winter cold, these areas require a heavy thermal blanket of R-49 to R-60, which can mean filling an attic with up to 18 or 20 inches of loose-fill material.
To find out where your home stands right now, take a tape measure up into your attic and check the depth of your current insulation. If you can see the wooden floor joists, you almost certainly have less than an R-19 rating, which means your home is severely under-insulated by modern efficiency standards.
Why Is Air Sealing the Most Critical First Step?
Many homeowners make the mistake of buying stacks of insulation and tossing them directly over their attic floor without doing any prep work. This is a massive waste of time and money. Insulation slows down the transfer of heat, but it does not stop the physical movement of moving air. If you have gaps, cracks, and holes in your attic floor, warm air will simply blow right through fiberglass or cellulose like a breeze passing through a wool sweater.
Air sealing is the process of finding and filling every single hidden puncture in your ceiling before you hide them under a blanket of new insulation. This step prevents conditioned indoor air from escaping into the attic, which drastically reduces the workload on your HVAC system. When looking for projects to improve your home, it helps to prioritize smart, high-yield upgrades. Taking the time to properly air seal and insulate your attic stands out as one of those essential home improvement projects that boost value and efficiency while paying for itself in lower utility costs.
Where Should You Look for Hidden Air Leaks?
-
Plumbing stacks and pipes: The large cutouts where sewer vent pipes and water lines pass from your bathrooms up into the attic are notorious for massive gaps.
-
Electrical wire penetrations: Look closely at the top plates of your interior walls. Every time an electrician drilled a hole to run a wire to an outlet or light switch, they left an open pathway for air.
-
Recessed canned lights: Standard recessed lights stick up into the attic floor and act like little chimneys, venting your heated or cooled air directly out of your living spaces.
-
Chimney and flue chases: The safety clearance gaps around metal fireplace chimneys or furnace flues are often completely open to the framing below.
-
The attic hatch or pull-down stairs: The access door itself is a giant hole in your ceiling that is rarely sealed or insulated correctly.
What Tools and Safety Equipment Do You Need Before Starting?
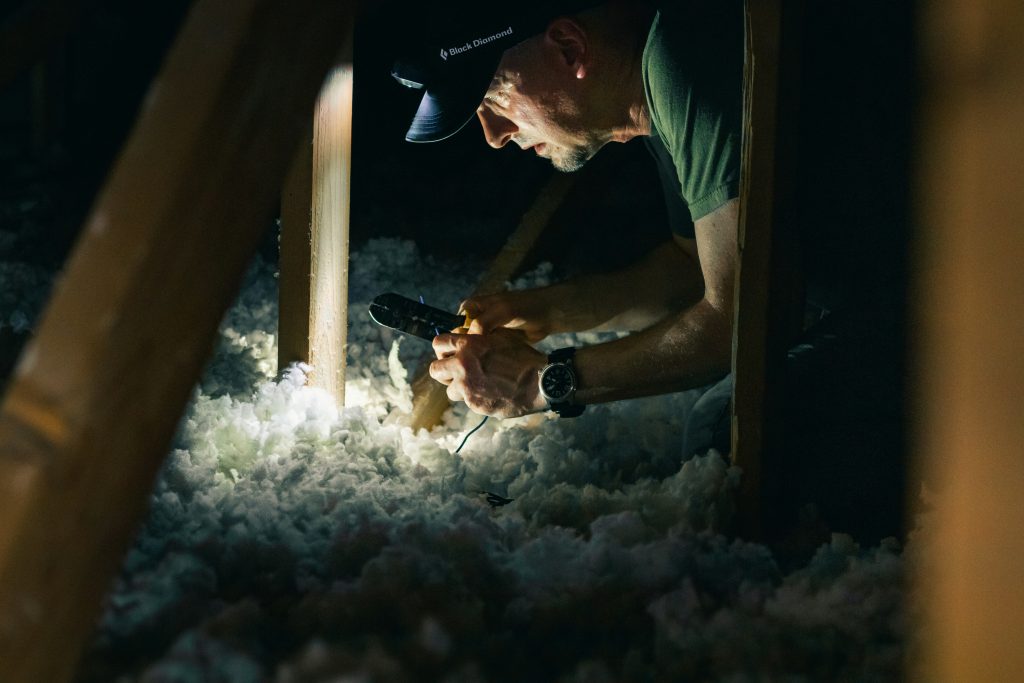
Working in an attic can be physically demanding and potentially hazardous if you are unprepared. Before you climb up the ladder, you need to assemble a complete toolkit and the right personal protective equipment to ensure the job goes smoothly and safely.
First and foremost is personal safety. Fiberglass and cellulose particles will quickly irritate your skin, eyes, and lungs. You should wear a high-quality, dual-strap N95 respirator mask or a half-mask respirator to protect your lungs from airborne fibers. Dust goggles that seal tightly against your face are essential for keeping floating debris out of your eyes. Pick up a disposable Tyvek suit with a hood, or wear long-sleeve shirts and pants that you do not mind throwing away afterward, along with heavy-duty work gloves.
For the actual work, you will need a bright, portable work light or a high-lumens headlamp because standard attic lighting is usually non-existent. Bring a couple of pieces of thick, sturdy plywood to bridge across the joists; this creates a secure kneeling platform so you do not accidentally step through your drywall ceiling. You will also want several cans of expanding polyurethane spray foam for sealing small gaps, a caulk gun with high-temperature silicone caulk for sealing around hot flues, a utility knife with plenty of spare blades, a staple gun, and a tape measure.
How Do You Prep the Attic Step by Step?
Preparation is where the real work happens. If you spend three days prepping and half a day laying down the actual insulation, you have done the job correctly. Once the new insulation is blown or rolled into place, finding and fixing mistakes becomes almost impossible.
Start by clearing out everything. Remove any old boxes, junk, or stored items so you have completely uninhibited access to every square foot of the attic floor. Next, grab a broom or a shop vac and clean away the accumulated dust and old debris around the areas you plan to seal. This ensures that your expanding foam and caulking will adhere properly to the wooden framing and drywall.
| Leak Location | Best Sealing Material |
| Small wire holes | Expanding polyurethane foam |
| Large plumbing gaps | Expanding foam with backing material |
| Around hot chimneys | Sheet metal flashing & high-temp caulk |
| Recessed canned lights | Fire-rated airtight covers |
As you move across the attic floor on your plywood kneeling boards, pull back any existing insulation to expose the tops of the walls. Use your expanding foam to seal every wire hole and plumbing gap you find. If you encounter a large opening, like a plumbing chase, pack some fiberglass scrap or foam board into the opening first to act as a backer, then coat it generously with expanding foam.
When dealing with masonry chimneys or metal furnace flues, never use standard expanding foam or plastic sheeting, as they present a severe fire hazard. Instead, bridge the gap with aluminum sheet metal flashing nailed into the framing, and seal the seams with a specialized high-temperature fire-stop caulk. For recessed light fixtures, check if they are rated for direct insulation contact (IC-rated). If they are not, you must build or buy a fire-rated box to cover them, leaving a few inches of clearance so they do not overheat, before sealing the base of the box to the drywall with caulk.
How Do You Maintain Proper Attic Ventilation?
One of the most dangerous mistakes a homeowner can make during an insulation upgrade is accidentally blocking the roof ventilation. It seems counterintuitive to bring cold outdoor air into an attic that you are trying to insulate, but a healthy attic must breathe.
During the winter, moisture from showering, cooking, and breathing migrates upward into the attic. If the attic lacks ventilation, this moisture hits the freezing underside of your roof deck, condenses into liquid water, and drips down into your ceiling, leading to wood rot and hazardous mold growth. In the summer, proper airflow flushes out the extreme heat buildup, keeping the roof cool and lowering your cooling demands.
To keep the air moving, your roof relies on a balanced system of intake vents (usually located under the eaves in the soffits) and exhaust vents (located up at the peak of the roof ridge). When you install insulation out to the very edges of the attic floor, it can easily slide down and completely plug up your soffit vents, choking off the airflow.
To prevent this, you must install foam or cardboard insulation baffles, often called rafter vents, in every single rafter bay along the perimeter of your roof. These long, channeled trays staple directly to the roof decking right above the soffit vents. They create a protected, permanent channel that allows fresh outdoor air to flow up over the insulation barrier and out through the ridge vents, completely unhindered, no matter how deep you pile your new insulation material.
How Do You Install Fiberglass Batt Insulation Properly?
If you have decided that fiberglass batts are the best option for your skill set and home layout, the installation process requires precision. Simply throwing the batts down will leave gaps that compromise the entire project.
How Do You Tackle a Blown-In Insulation Project?
Blown-in loose-fill insulation is incredibly fast and efficient, but it is a two-person operation that requires clear communication and a methodical approach. One person will stand in the yard breaking up blocks of material and feeding them into the hopper of the blower machine, while the second person works up in the attic managing the hose.
Before starting the machine, nail cardboard insulation depth markers to the side of your wooden joists every few feet throughout the attic. These markers feature clear printed rulers that show you exactly how deep the material is getting as you blow it in, helping you achieve an even, consistent depth that matches your target R-value.
Start at the back corners of the attic. Hold the flexible blower hose parallel to the floor, letting the fluffy material cascade down gently like falling snow. Do not point the hose directly down or pack the material manually; letting it settle naturally keeps the maximum amount of air trapped inside the fibers, which is what gives it its insulation power.
As you fill each bay to the proper level on your depth markers, slowly back away toward the attic exit door. Be very careful not to blow material directly into your ventilation baffles or into open light fixture boxes. Keep a steady pace, keep the hose moving in an oscillating pattern, and make sure you do not accidentally bury your access hatch until the very last moment.
How Do You Handle the Attic Access Door?
The main attic access hole, whether it is a simple push-up drywall panel in a closet or a folding set of wooden stairs in a hallway, is often completely forgotten. If you insulate the entire attic floor but leave the access hatch unprotected, it acts like a giant hole in a bucket, allowing heat to rapidly pour right through the uninsulated door panel.
To fix a basic push-up hatch panel, cut a piece of rigid foam insulation board to match the exact dimensions of the back of the door. Use heavy-duty construction adhesive or foam-compatible glue to fasten the rigid foam directly to the upper side of the panel. For the best performance, you can stack multiple layers of rigid foam until you achieve a thickness that matches the R-value of the surrounding floor.
Next, focus on the perimeter frame where the hatch panel rests. Apply adhesive-backed foam weatherstripping tape along the entire wooden ledge inside the opening. When you put the hatch back in place, the weight of the panel will compress the foam tape, creating a tight, airtight seal that prevents drafts from slipping through the seams.
If you have a set of pull-down stairs, the process is slightly different because of the folding mechanism. The easiest and most effective solution is to purchase a pre-made, zippered insulation cover or “tent.” This lightweight, insulated fabric dome staples directly to the wooden framing over the stairs inside the attic. When you want to go upstairs, you simply pull down the stairs, unzip the cover, walk through, and zip it closed behind you to maintain the thermal barrier.
What Are the Common Pitfalls You Should Avoid?
While updating your attic insulation is a highly accessible DIY task, small mistakes can lead to major structural issues down the line. Knowing what traps to look out for will keep your home safe and dry.
Covering recessed lights that are not IC-rated
Standard incandescent recessed lights generate a significant amount of heat. If you pile insulation directly over a non-IC rated can light, that heat cannot escape, which can cause the light fixture to overheat, melt wiring insulation, and ignite a fire. Always verify your fixture ratings or use protective fire-proof enclosures.
Neglecting vapor barriers in cold regions
In very cold northern climates, a vapor barrier is necessary to keep moisture from your living spaces from migrating into the freezing attic. If you install faced batts upside down (with the paper facing up toward the cold attic sky instead of down toward the warm ceiling), you will trap moisture inside your ceiling drywall, resulting in peeling paint, stains, and structural rot.
Forgetting to seal the top plates
It is easy to get hyper-focused on the big plumbing holes and ignore the hundreds of linear feet where your interior wall framing meets the attic floor drywall. These top plates are major sources of ghost drafts. Skipping the air sealing phase means your new insulation will never perform at its laboratory-rated efficiency levels.
When Should You Call in a Professional?
Many attic insulation projects are perfectly suited for a weekend warrior with patience and a solid safety mask. However, there are certain situations where the scope of the project requires the tools, experience, and safety protocols of a licensed professional insulation contractor.
If you crawl up into your attic and discover old, gray, lightweight material that looks like small rocks or shiny flakes, you might be looking at vermiculite insulation. Much of the vermiculite sold in the United States before 1990 came from a mine that also contained natural asbestos deposits. If your attic contains vermiculite, do not disturb it, do not sweep it, and do not try to cover it. Call a certified asbestos abatement professional to sample and test the material safely.
| Project Condition | DIY Feasible? | Call Professional? |
| Standard fiberglass batts | Yes | No |
| Active mold or roof rot | No | Yes (Urgent) |
| Suspected vermiculite | No | Yes (Safety Risk) |
| Knob-and-tube wiring | No | Yes (Fire Risk) |
| Deep blown-in top-offs | Yes | No |
You should also call a pro if you find evidence of active roofing leaks, rotted structural rafters, or widespread black mold growth along the underside of the roof deck. Piling new insulation over damp or moldy wood will only accelerate the decay and ruin your new materials. A professional needs to remediate the mold and fix the roof ventilation before any insulation work can begin.
Finally, older homes built before the 1950s may still feature active knob-and-tube electrical wiring running through the attic joists. Unlike modern insulated electrical cables, knob-and-tube wiring relies on open air space around the copper conductors to dissipate heat safely. Burying active knob-and-tube wiring under a blanket of insulation is a severe fire hazard and requires an electrician to update the wiring system before you can proceed with your insulation upgrades.
How Long Does It Take to See a Return on Investment?
Upgrading your attic insulation is unique because it is one of the very few home improvements that starts paying you back the exact same day the installation is finished. You do not have to wait until you sell the house to realize the financial benefits of the work.
According to data compiled by the Business Energy Advisor and the North American Insulation Manufacturers Association, proper attic air sealing and insulation upgrades typically cut total home heating and cooling costs by an average of 15%. Depending on your climate, the size of your home, and the type of heating fuel you use, that can add up to hundreds of dollars in direct savings every single year.
The upfront cost for a DIY attic project using fiberglass batts or rented blown-in equipment is relatively low compared to other major renovations. Most homeowners find that their initial material investment is fully recovered through lowered utility bills within two to four years. Once that payback period is over, the ongoing monthly energy savings are pure profit that stays right in your bank account, all while making your living spaces noticeably more comfortable, quiet, and cozy for decades to come.
Final Thoughts
Taking control of your home’s climate does not require a massive structural overhaul. By turning your attention upward and addressing the hidden gaps and thin insulation in your attic, you can establish a powerful, protective shield that guards your home against the extremes of every season. The upfront investment of time and materials quickly pays for itself, transforming an overlooked storage space into a core driver of household efficiency. If you are ready to put an end to drafty rooms, overworked HVAC systems, and soaring utility costs, making proper attic insulation your next home project is a definitive win for both your comfort and your wallet.
What area of your attic do you plan to inspect first for hidden energy leaks?